The Best Way to Mount Anything on Any Wall – Step-by-Step
Whether you’re hanging a piece of art, mounting a TV, or putting up shelves, properly mounting something on a wall is a must for both safety and aesthetics. However, it can be tricky to figure out the right tools and techniques to mount each item.
Project Tool List
- Drill – For drilling holes in the wall.
- Drill bits – Select the right size based on the anchor or screw.
- Screws – Depending on the item being mounted, choose appropriately.
- Screwdriver – For tightening screws after drilling.
- Level – To ensure that what you’re mounting is perfectly horizontal.
- Measuring Tape – For precise placement.
- Stud Finder – Helps locate studs behind drywall for a more secure mount.
- Pencil – For marking spots on the wall before drilling.
- Hammer – Sometimes needed to drive anchors or nails.
- Plumb Line or Laser Level – For vertical alignment of items.
Step 1: Determine Wall Type
Drywall: The most common in homes. It’s sturdy but requires the right anchors for heavy items.
Plaster: Older homes often have plaster walls, which can be more brittle and need special care.
Concrete/Brick: Very strong but requires masonry bits and anchors.
Wood: Wood Siding, Accent Walls, Paneling, Backer Boards
Step 2: Choose the Right Hardware
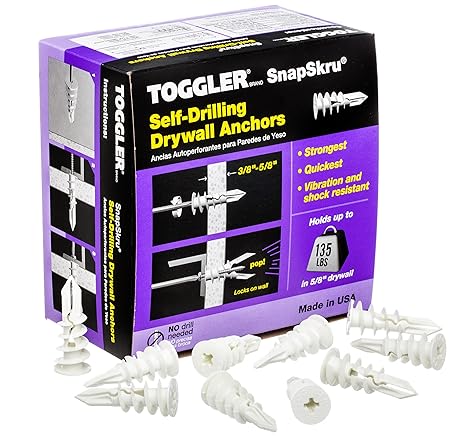
Drywall Anchors: Great for medium-weight items like picture frames, mirrors, and small shelves.
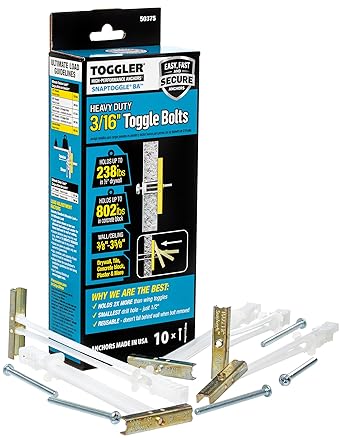
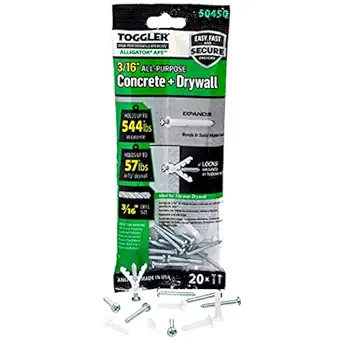
Toggle Bolts: Ideal for heavy items like large mirrors, heavy art, or TV mounts.
Masonry Anchors: Required for concrete or brick walls when mounting shelves or heavy items.
Made in America
Pro Tip: If you’re mounting multiple items, consider tracing templates (such as paper outlines of frames) on the wall to visualize the layout.
Step 3: Measure and Mark
To begin, use a level and tape measure to determine the exact placement of what you’re mounting. Next, carefully mark the wall with a pencil where your screws or anchors will go. Additionally, be sure to account for the height and alignment of the item to ensure a precise and secure fit.


Step 4: Pre-Drill Holes
If you’re mounting something into a stud, it’s important to drill a pilot hole first. This not only prevents the wood from splitting but also makes it much easier to screw in. Similarly, for drywall or masonry, you should follow the same step; however, be sure to use an appropriate drill bit for the type of anchor you’re using.
By taking these precautions, you’ll ensure a secure and hassle-free installation.
Here’s a step-by-step guide to pre-drilling holes:
- Choose the Right Drill Bit (size of screws core without threads)
- Mark the Spot
- Secure the Material
- Drill the Pilot Hole
- Depth Control
Step 5: Insert Anchors or Bolts
For drywall or masonry, insert the anchors into your pre-drilled holes before screwing in the bolts or screws. If you’re mounting directly into a stud, you can skip the anchor and go straight to the screws.
Heavy Item Alert: If you’re mounting something particularly heavy, such as a TV, use a bracket that has multiple points of attachment for extra security.
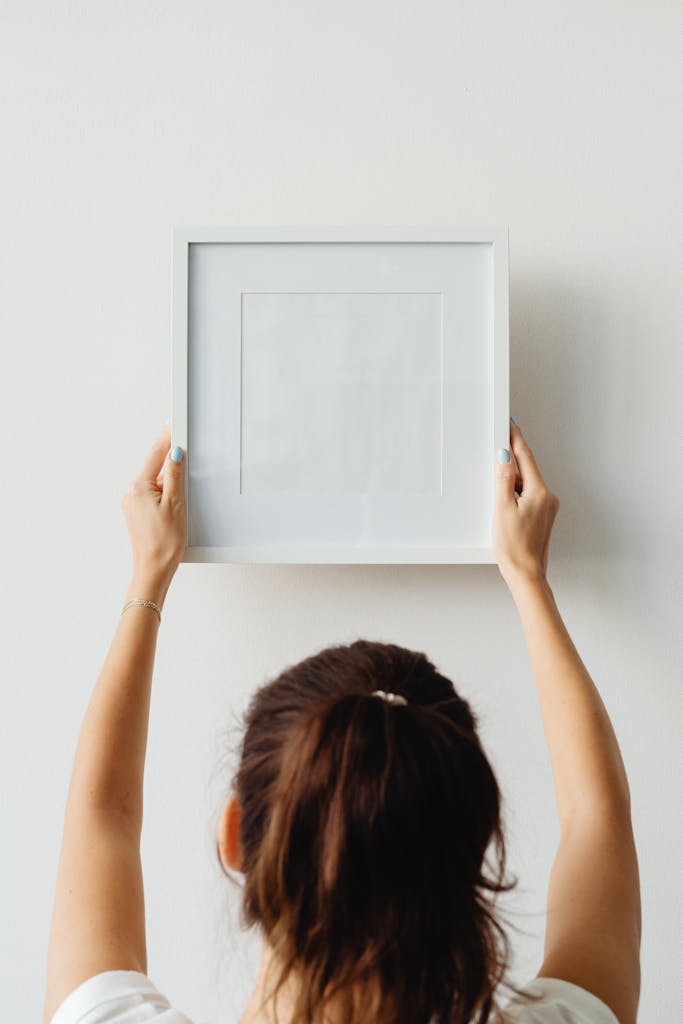
Step 6: Mount the Item
Once the anchors or screws are in place, it’s time to hang your item. For something light like a picture frame, this is as simple as attaching it to the screw heads. For heavier items like shelves, you’ll need to attach brackets or use a mounting system that securely locks into place.
Step 7: Final Adjustments
Once everything is mounted, use a level to make sure the item is straight. Adjust as necessary before securing everything tightly.
Tips For Mounting Different Items
Picture Frames: For frames, especially if you’re creating a gallery wall, use picture hanging strips or small hooks for a cleaner look.
Shelves: Use heavy-duty anchors or screws and always try to hit a stud for additional support. Shelves holding heavy objects, like books, need extra care.
TVs: Make sure to use a sturdy wall mount rated for the weight of your TV. Toggle bolts or screwing into studs is a must. Tv Mounts
Mirrors: For large mirrors, opt for heavy-duty anchors, or better yet, attach to studs for maximum stability.
Decorative Items: Lighter decorative items can often be hung with adhesive hooks if you want to avoid drilling.
Following these steps and tips, you can confidently mount anything on your walls without worrying about it coming loose or falling.
Bonus: What to Avoid
Overloading the Anchors: Always check the weight rating on the anchors or bolts you’re using to avoid disaster.
Not Checking for Wires or Pipes: Use a stud finder with a live wire detector to avoid drilling into electrical wires or pipes.
Mounting items on your wall not only adds functionality but also enhances the look of your home. So, go ahead and start hanging with confidence!